
When most people think of scotch tape, they think of adhesive for mailing or wrapping gifts. However, this trusty tool can also be used for fun and unique nail art designs! Many easy and simple ideas can be executed using scotch tape alone. So if you’re looking to add a new twist to your usual nail look, consider trying out some of these designs! The best part is that most of them don’t require any advanced skills or tools. So read on to get started!
Adorable nail art designs using scotch tape
Nail art is a great way to add some personality to your look. It can be as simple or as elaborate as you want, and there are endless possibilities. One popular technique is using scotch tape to create interesting designs.
This method is relatively easy and doesn’t require any fancy tools or materials. Just grab some tape and get creative! Here are some fun and unique ideas to try…
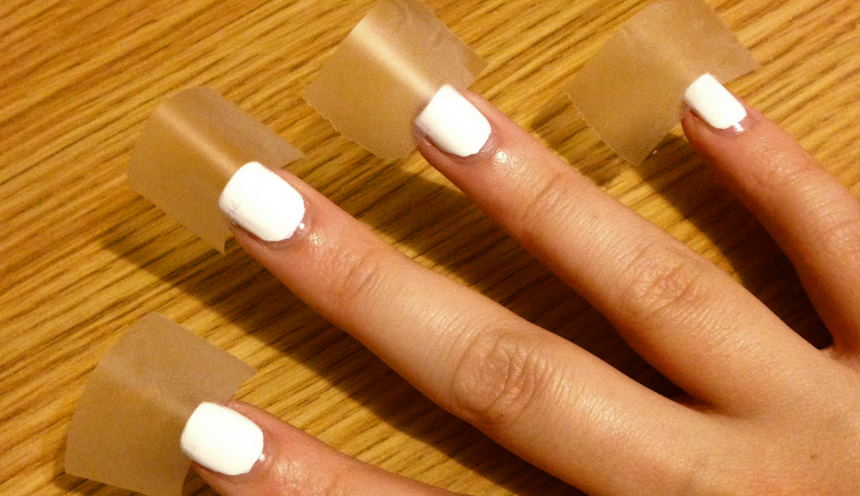
- Stripes: Create horizontal or vertical stripes by placing strips of tape on your nails and painting over them with your desired color(s). Remove the tape while the polish is still wet for best results.
- Checkerboard: This classic pattern is easily achieved with scotch tape! Place the tape over your nails in a criss-cross pattern, then paint alternate squares with different colors. Remove the tape while the polish is still wet.
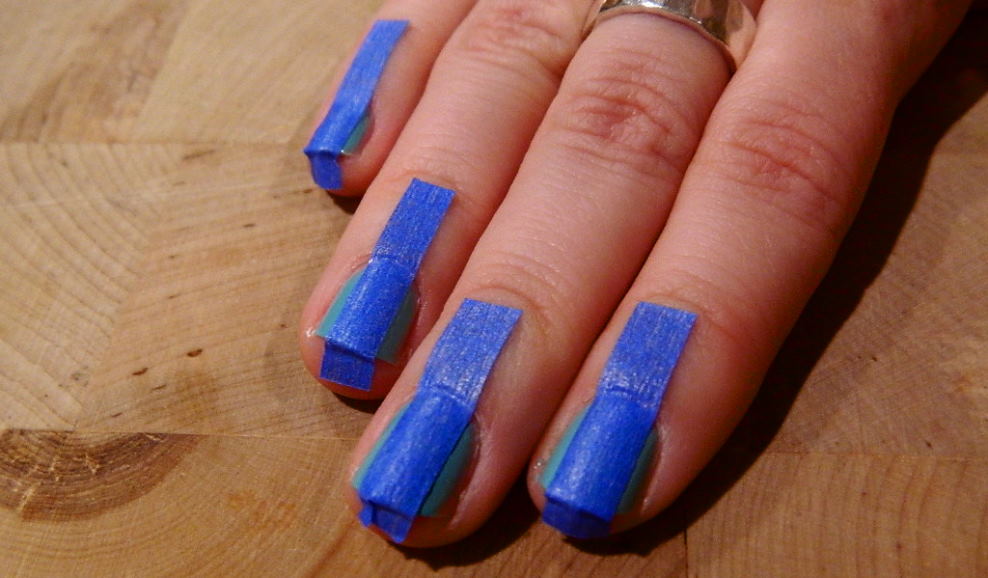
- Geometric: Try creating geometric shapes with scotch tape for a modern twist on stripes. Place the tape on your nails in any shape you like, then fill the negative space with polish. Again, be sure to remove the tape while the polish is wet.
- Glitter: Add some sparkle to your nails using scotch tape to create a glitter gradient. Paint your nails with a base color, then place strips of tape around the tips. Paint over the tapes with glittery polish, then remove the tapes while the polish is still wet.
- Ombre: This trendy effect is also easy to achieve with scotch tape! Place the tape on your nails in a gradient pattern, then paint over it with your desired colors. Remove the tape while the polish is still wet.
So there you have it, 5 fun and unique ideas for nail art using scotch tape! Give them a try and see what looks best on you. Have fun experimenting!
Striping tape nail designs: how to use stripes to create beautiful nails
Whether you’re looking to add a pop of color or change up your nail game, striping tape is a great way to get creative with your nails. The possibilities are endless, with many colors and designs to choose from! Here’s how you can use striping tape to create beautiful nail designs:
- Start with a clean base. Make sure your nails are free of any polish or oil before applying the striping tape. This will help the tape adhere better and prevent it from peeling off prematurely.
- Cut the striping tape into desired lengths. You can make your stripes as thick or thin as you like.
- Apply the striping tape to your nails, starting at the base and working your way up. You can use a tweezer or your fingers to apply the tape.
- Paint your nails with a base color. Once the base color is dry, remove the striping tape to reveal your design.
- Finish off with a top coat of polish for added shine and protection.
The possibilities are endless, with so many ways to customize your nails using striping tape! Get creative and have fun experimenting with different colors and designs. Your nails will thank you for it!


